Spring has arrived (even if the periodic snowstorms we’ve been having beg to differ). We’re pretty much now in the time to do some spring planting, so we’ve put together a basic guide for what you ought to do to prepare yourself.
Before you start planting, you’ll first need to clean up your plant beds and prune/cut back you shrubs and perennials. This is the time to remove plant degree from around the plants and the clear out any dead leaves or branches off of the plants themselves. Luckily we have already written a guide on how to prepare your beds and how to properly cut back your plants. Find that HERE.
Initial Steps
1. Research your plant: It’s easy to get excited about new plants when you are at nurseries or garden centers. The urge is to buy them and immediately stick them into the ground. However, you need to assess new plants to make sure you plant them in ideal locations. Things to make note of are sun exposure (shade, partial-sun, sun), soil type (clay, loam, sand, etc.), and water (ok with tons of water, needs watered frequently but with well-draining soil, little water, etc.). Once you have researched your plant, then is the time to stick it in the ground.
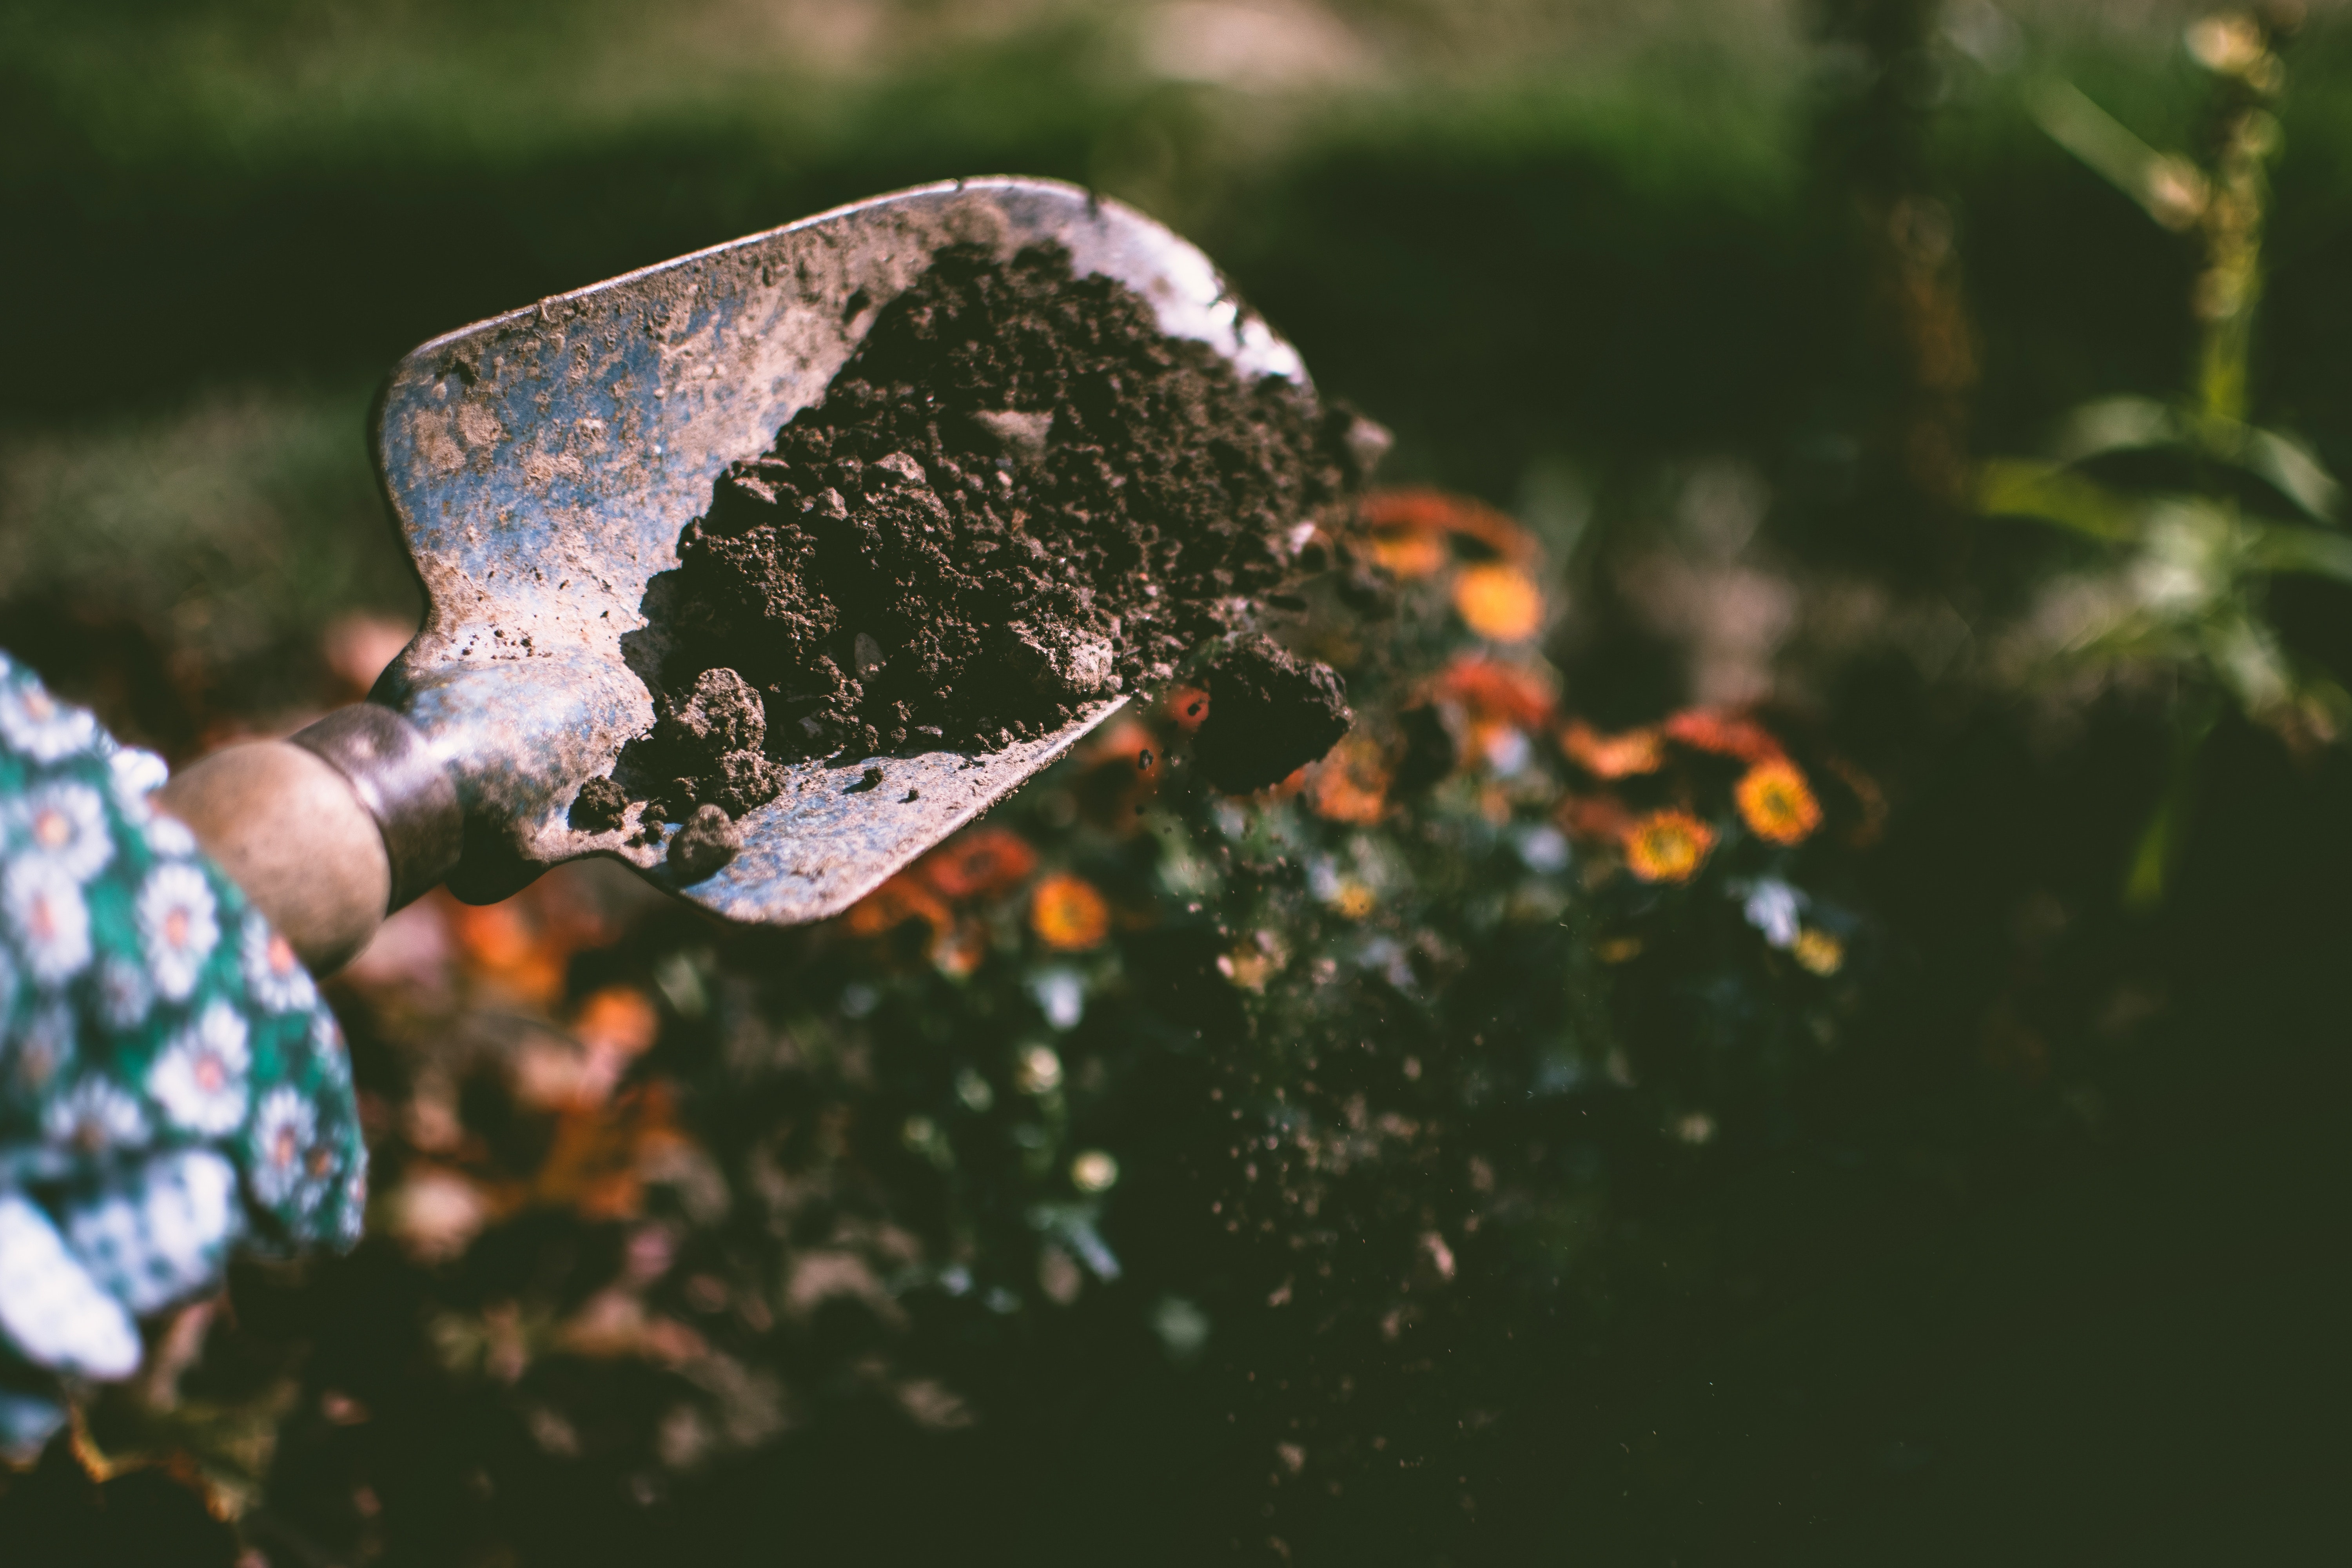
2. Dig the hole: The hole should be a foot or two bigger than the actual root ball. This will allow for the roots to spread out and establish themselves. This is a good opportunity to put some new soil in the ground around the root ball as well. Don’t dig the hole too deep. When you plant the plant, you want the plant to sit a little above ground level to prevent water from pooling around the plant and rotting the roots.
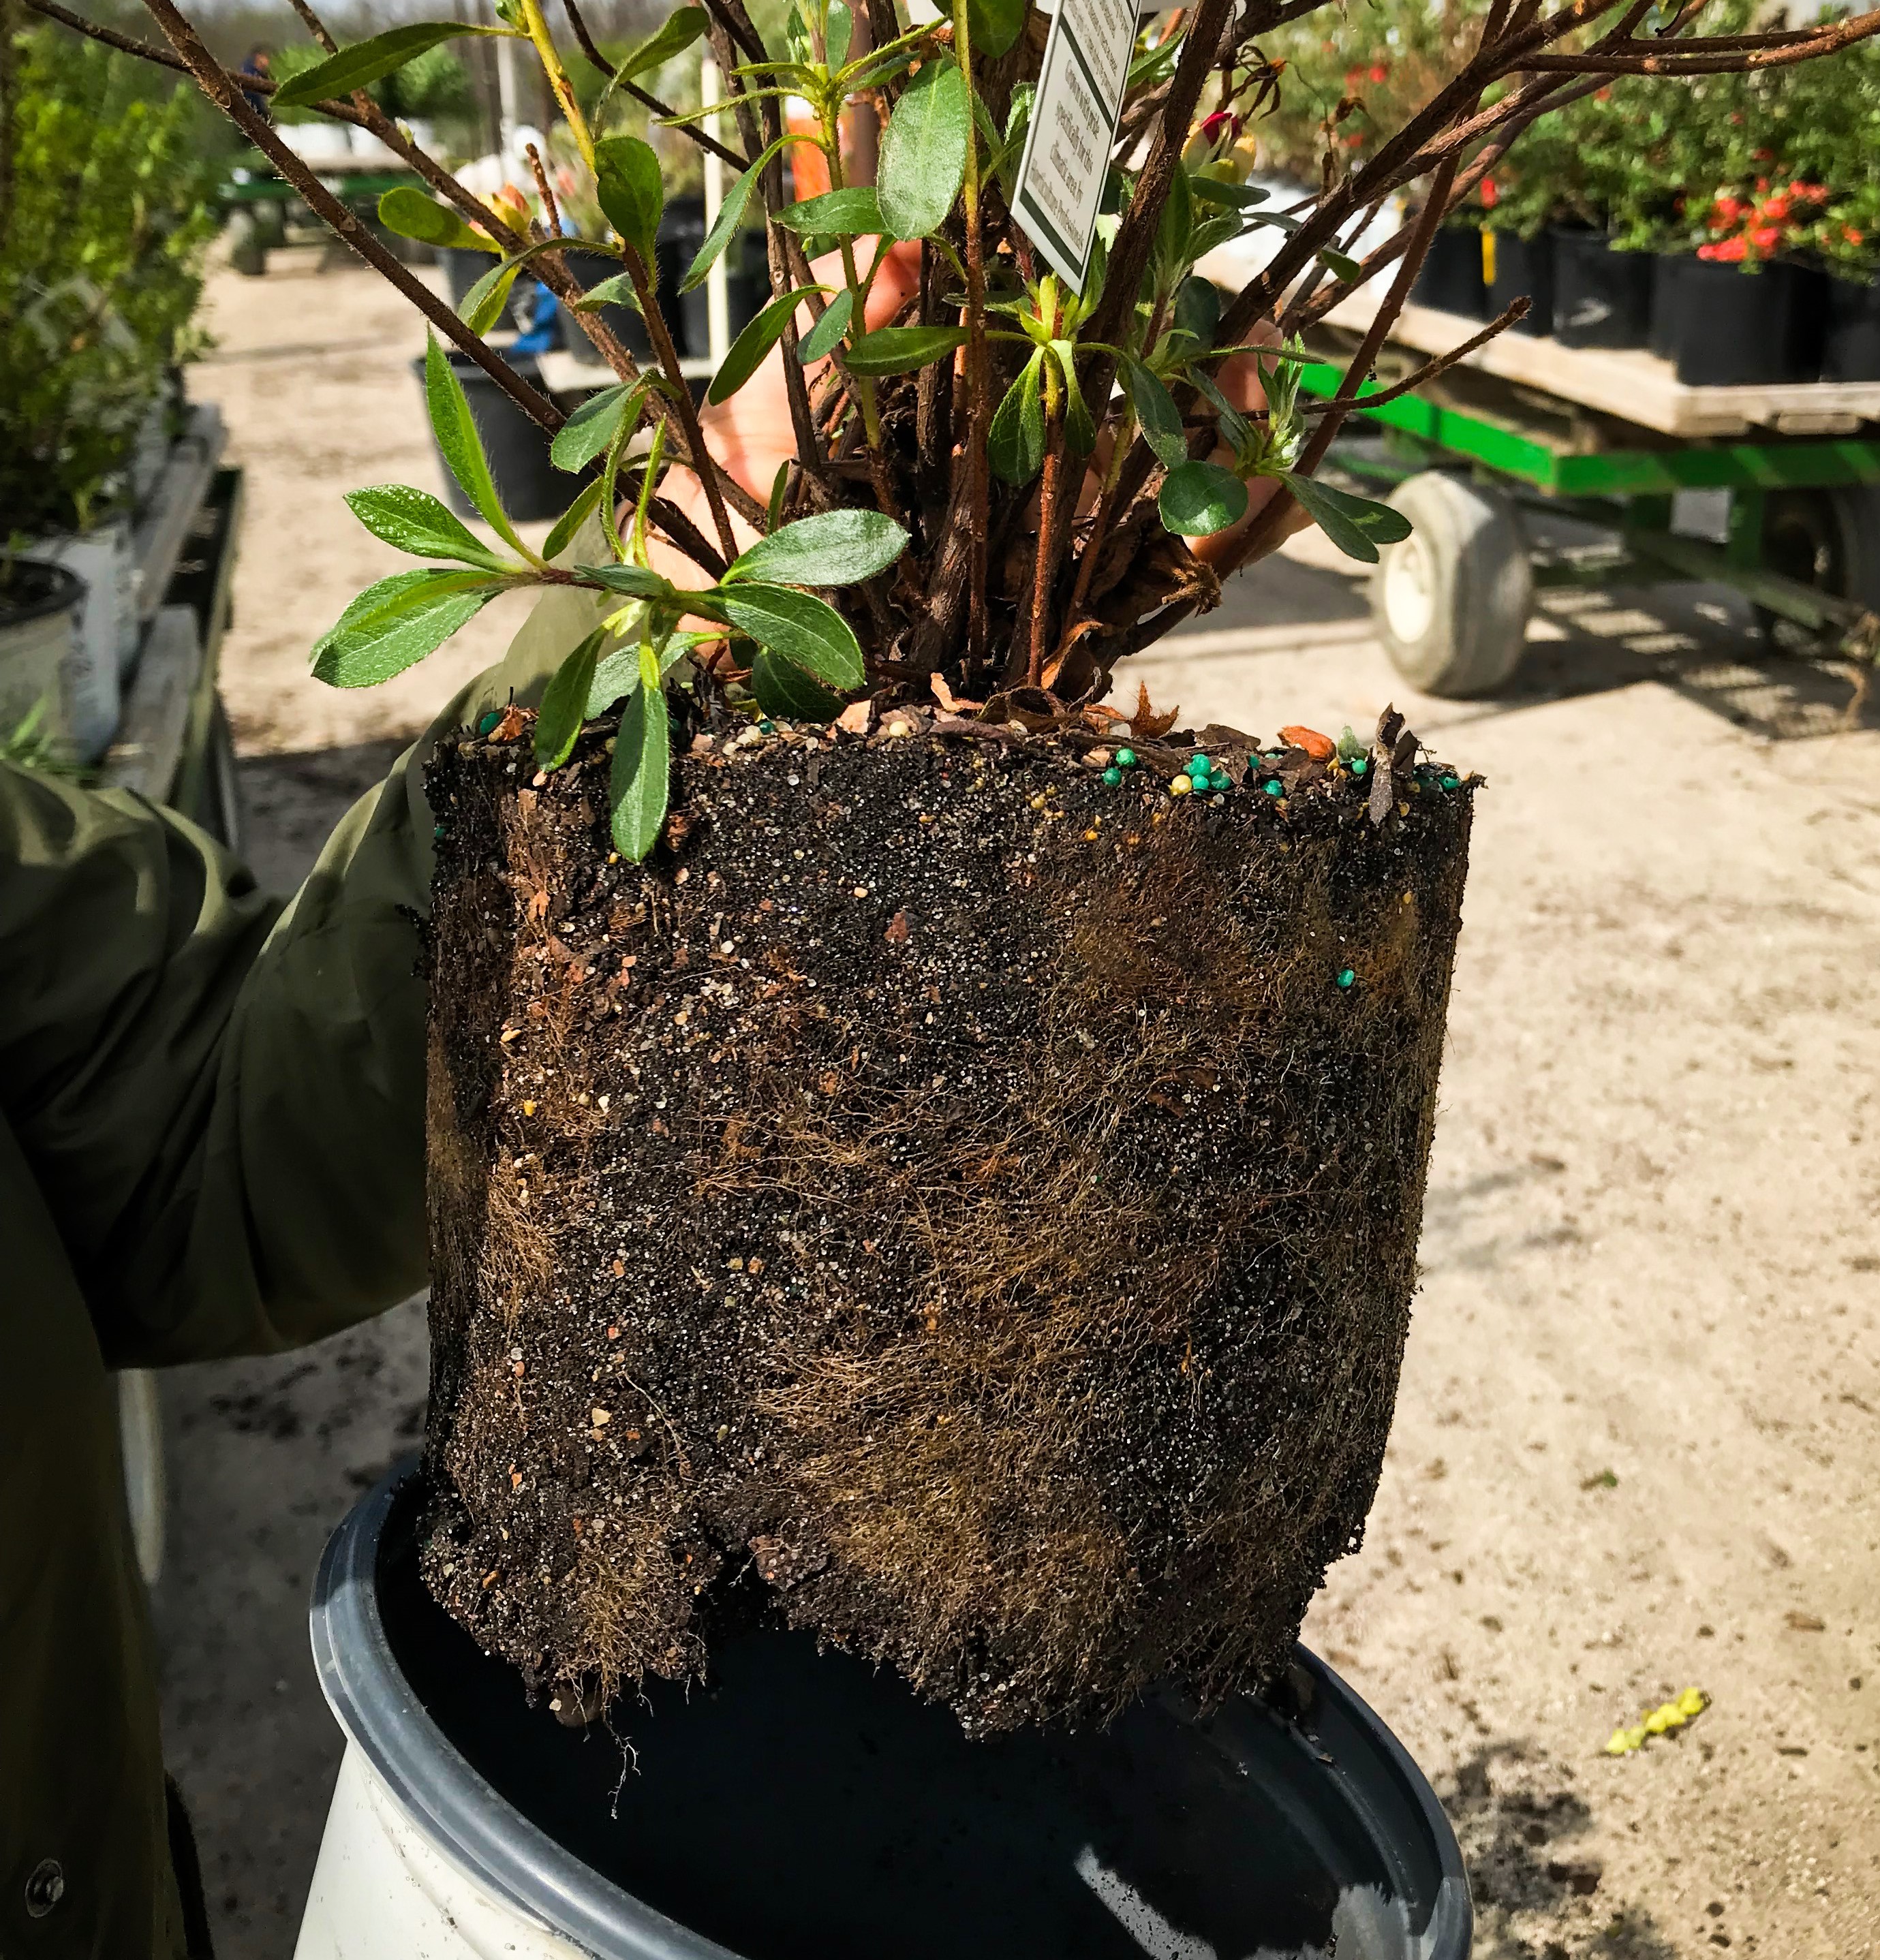
3. Prepare roots: One of the biggest mistakes people make is sticking the plant directly out of the pot into the ground with the roots still bunched up. This will only keep the roots confined to the same space and will prevent the plant from getting established into the ground and getting the new nutrients it needs. To remedy this, loosen up the roots with your hand, shake them out of some of the dirt, and manually spread them out before you put them into the ground. In the image below, you can see how the roots are all bunched up from the pot.
Time to Plant!
4. Plant it: Put the plant in the hole (with the newly loosened roots), and fill the hole in with dirt. Again, make sure it sits a little above ground level. Firmly pack in the soil to remove air but not too firm as to damage the roots.
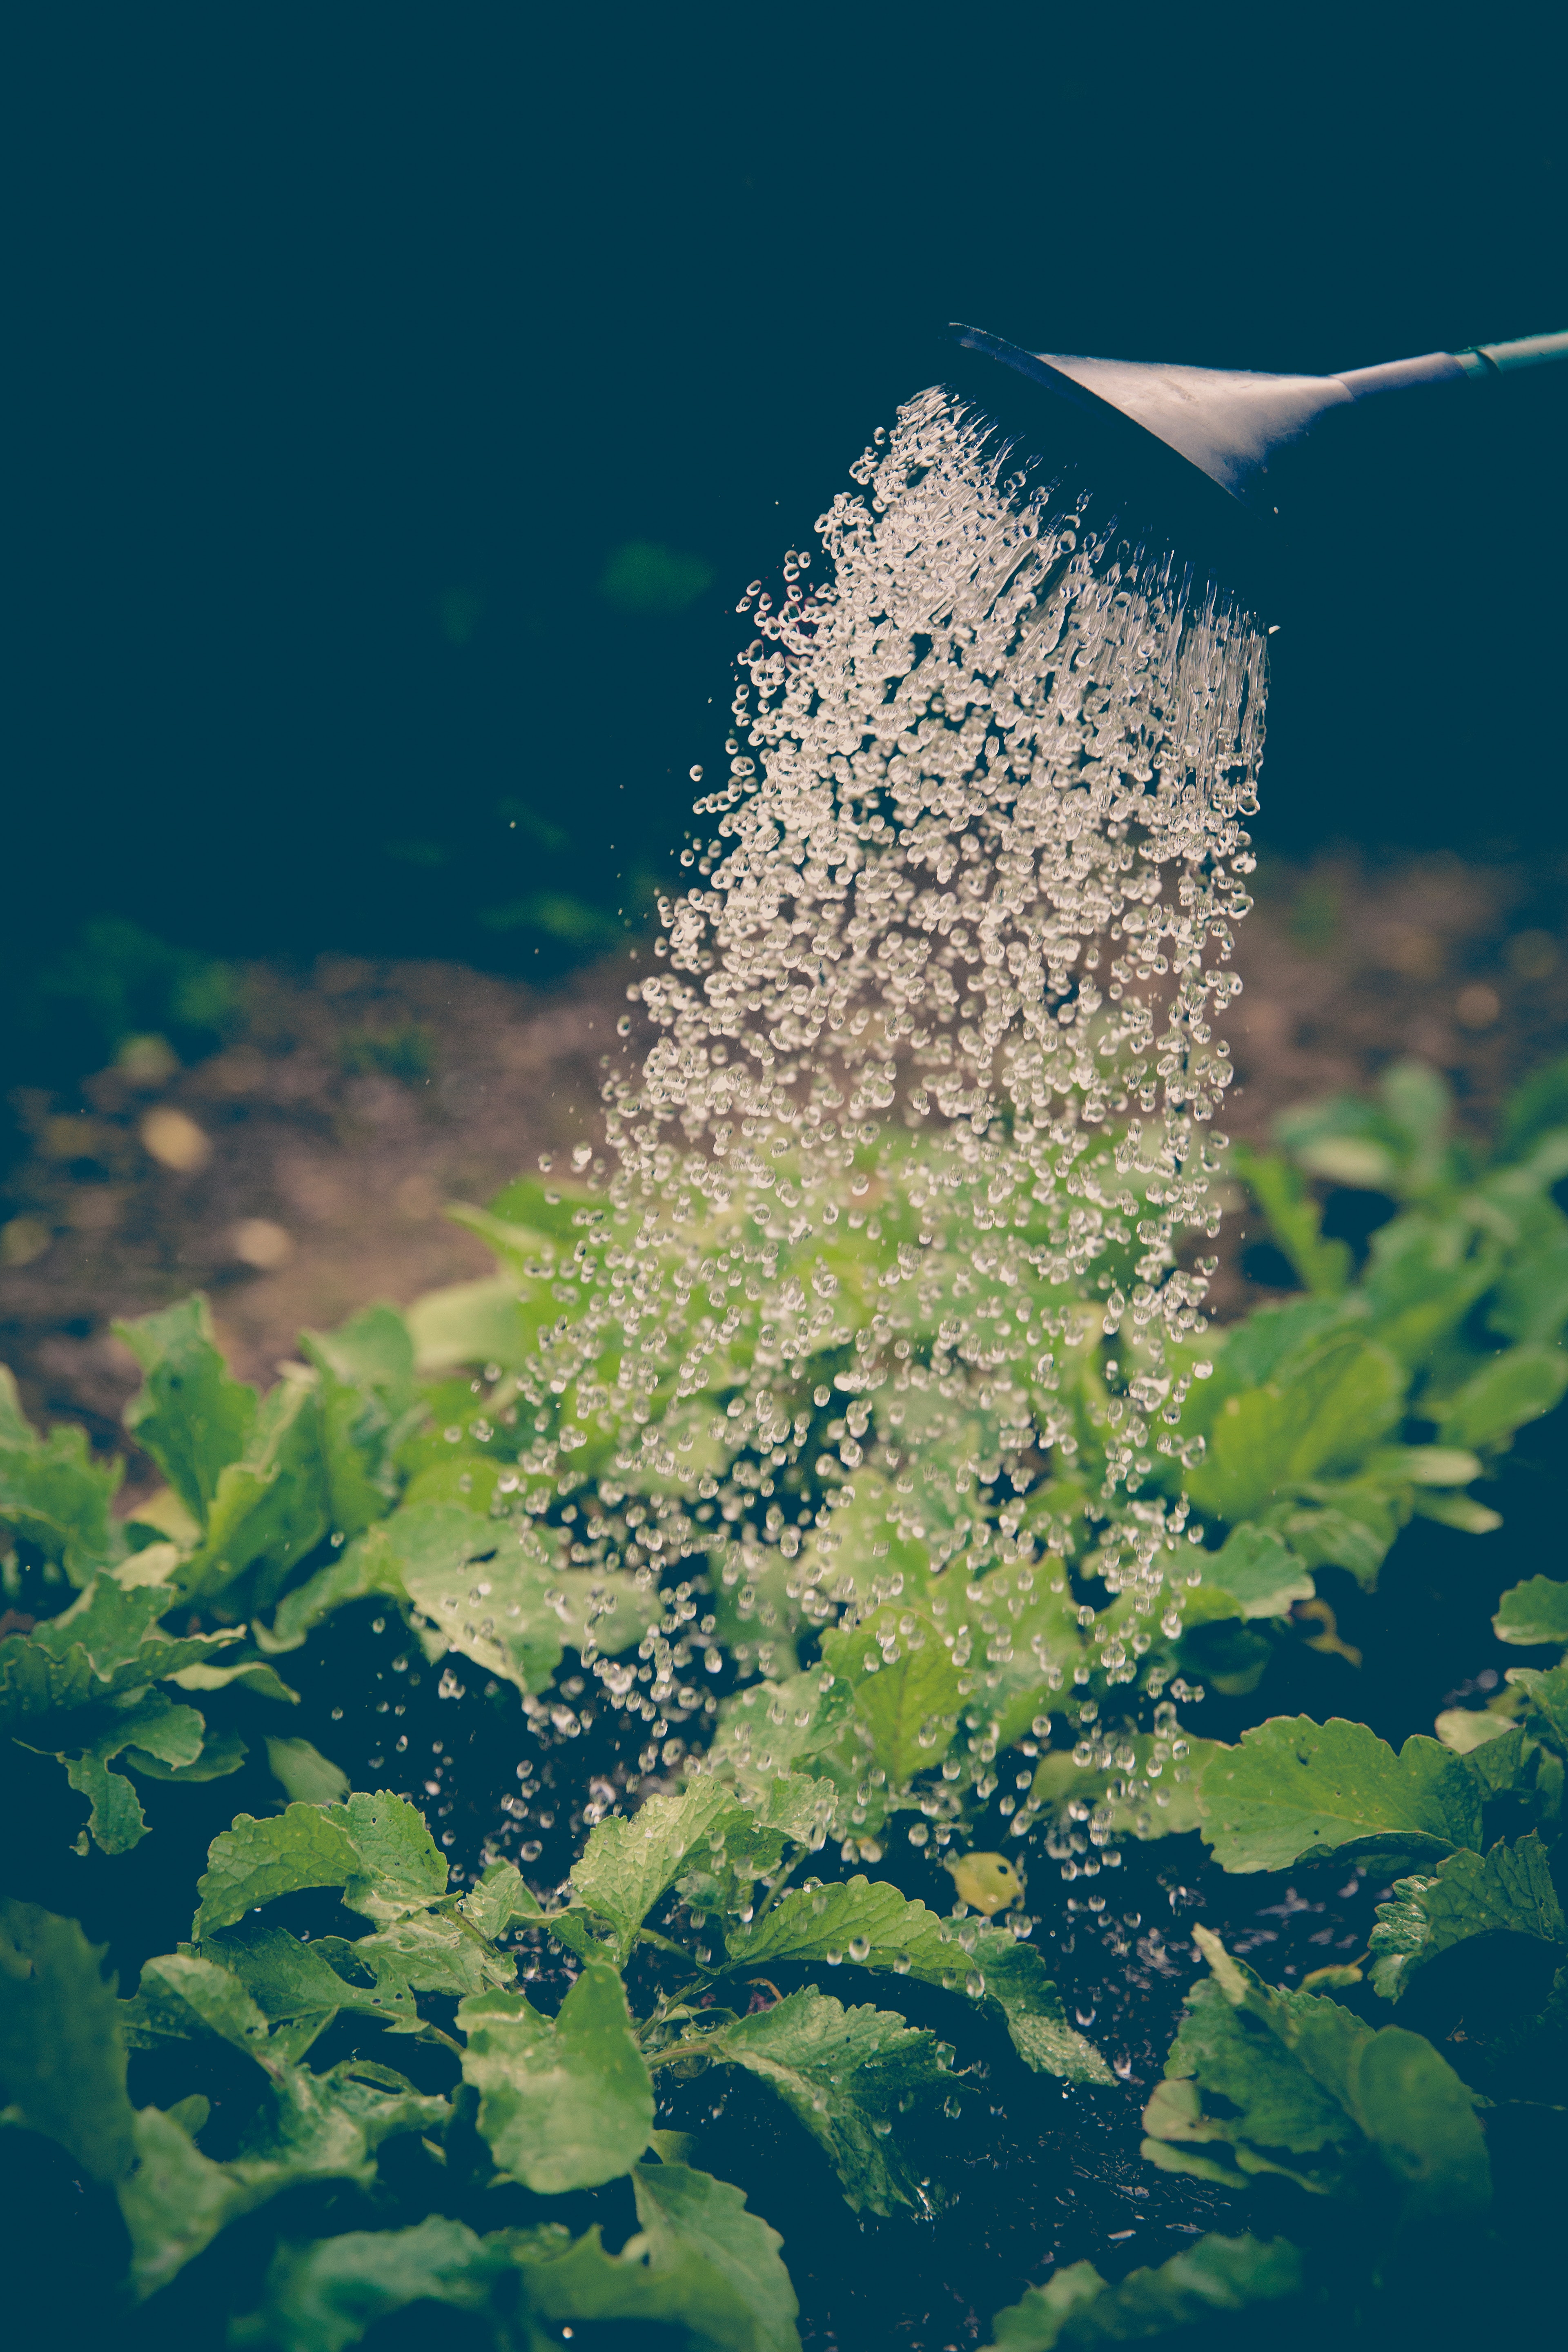
5. Water immediately: The transplant process causes some shock to the roots. To minimize this, water immediately to keep the plant hydrated and help it adjust to the new environment. You want the soil to be saturated but not flooded. Remember to regularly water your new plants, especially in the days after initially putting them into the ground.
6. Fertilize with a CRF product: CRF stands for Controlled Release Fertilizer. We recommend CRF to other fertilizers because they are designed to continuously release nutrients. This guarantees that your plants are getting the nutrients they need while also minimizing the rate at which you need to apply fertilizer. You can find these in any garden center department of stores.
7. Re-mulch Beds: This is the final step in the process. Once the beds are cleaned up, new things are planted, and everything is watered and fertilized, you need to then mulch the bed. Mulch reduces weed pressure and also helps the ground retain moisture. After this, your plant beds should be ready to go. In no time, your perennials and shrubs should be thriving.
Have Questions About Plants?
We may be a wholesale grower, but our staff are experts in the field. What’s more, is we love helping people learn more and understand more about plants. We grow healthy plants, and we want our plants (and any plants really) to be successful in the landscapes they are planted in. Feel free to email us at sales@lomavistanursery.com or call us at (785) 229-7200 if you ever have plant-related questions.
Connect with us!
Stay up-to-date on our plant recommendations, growing tips, and more by following us on social media.