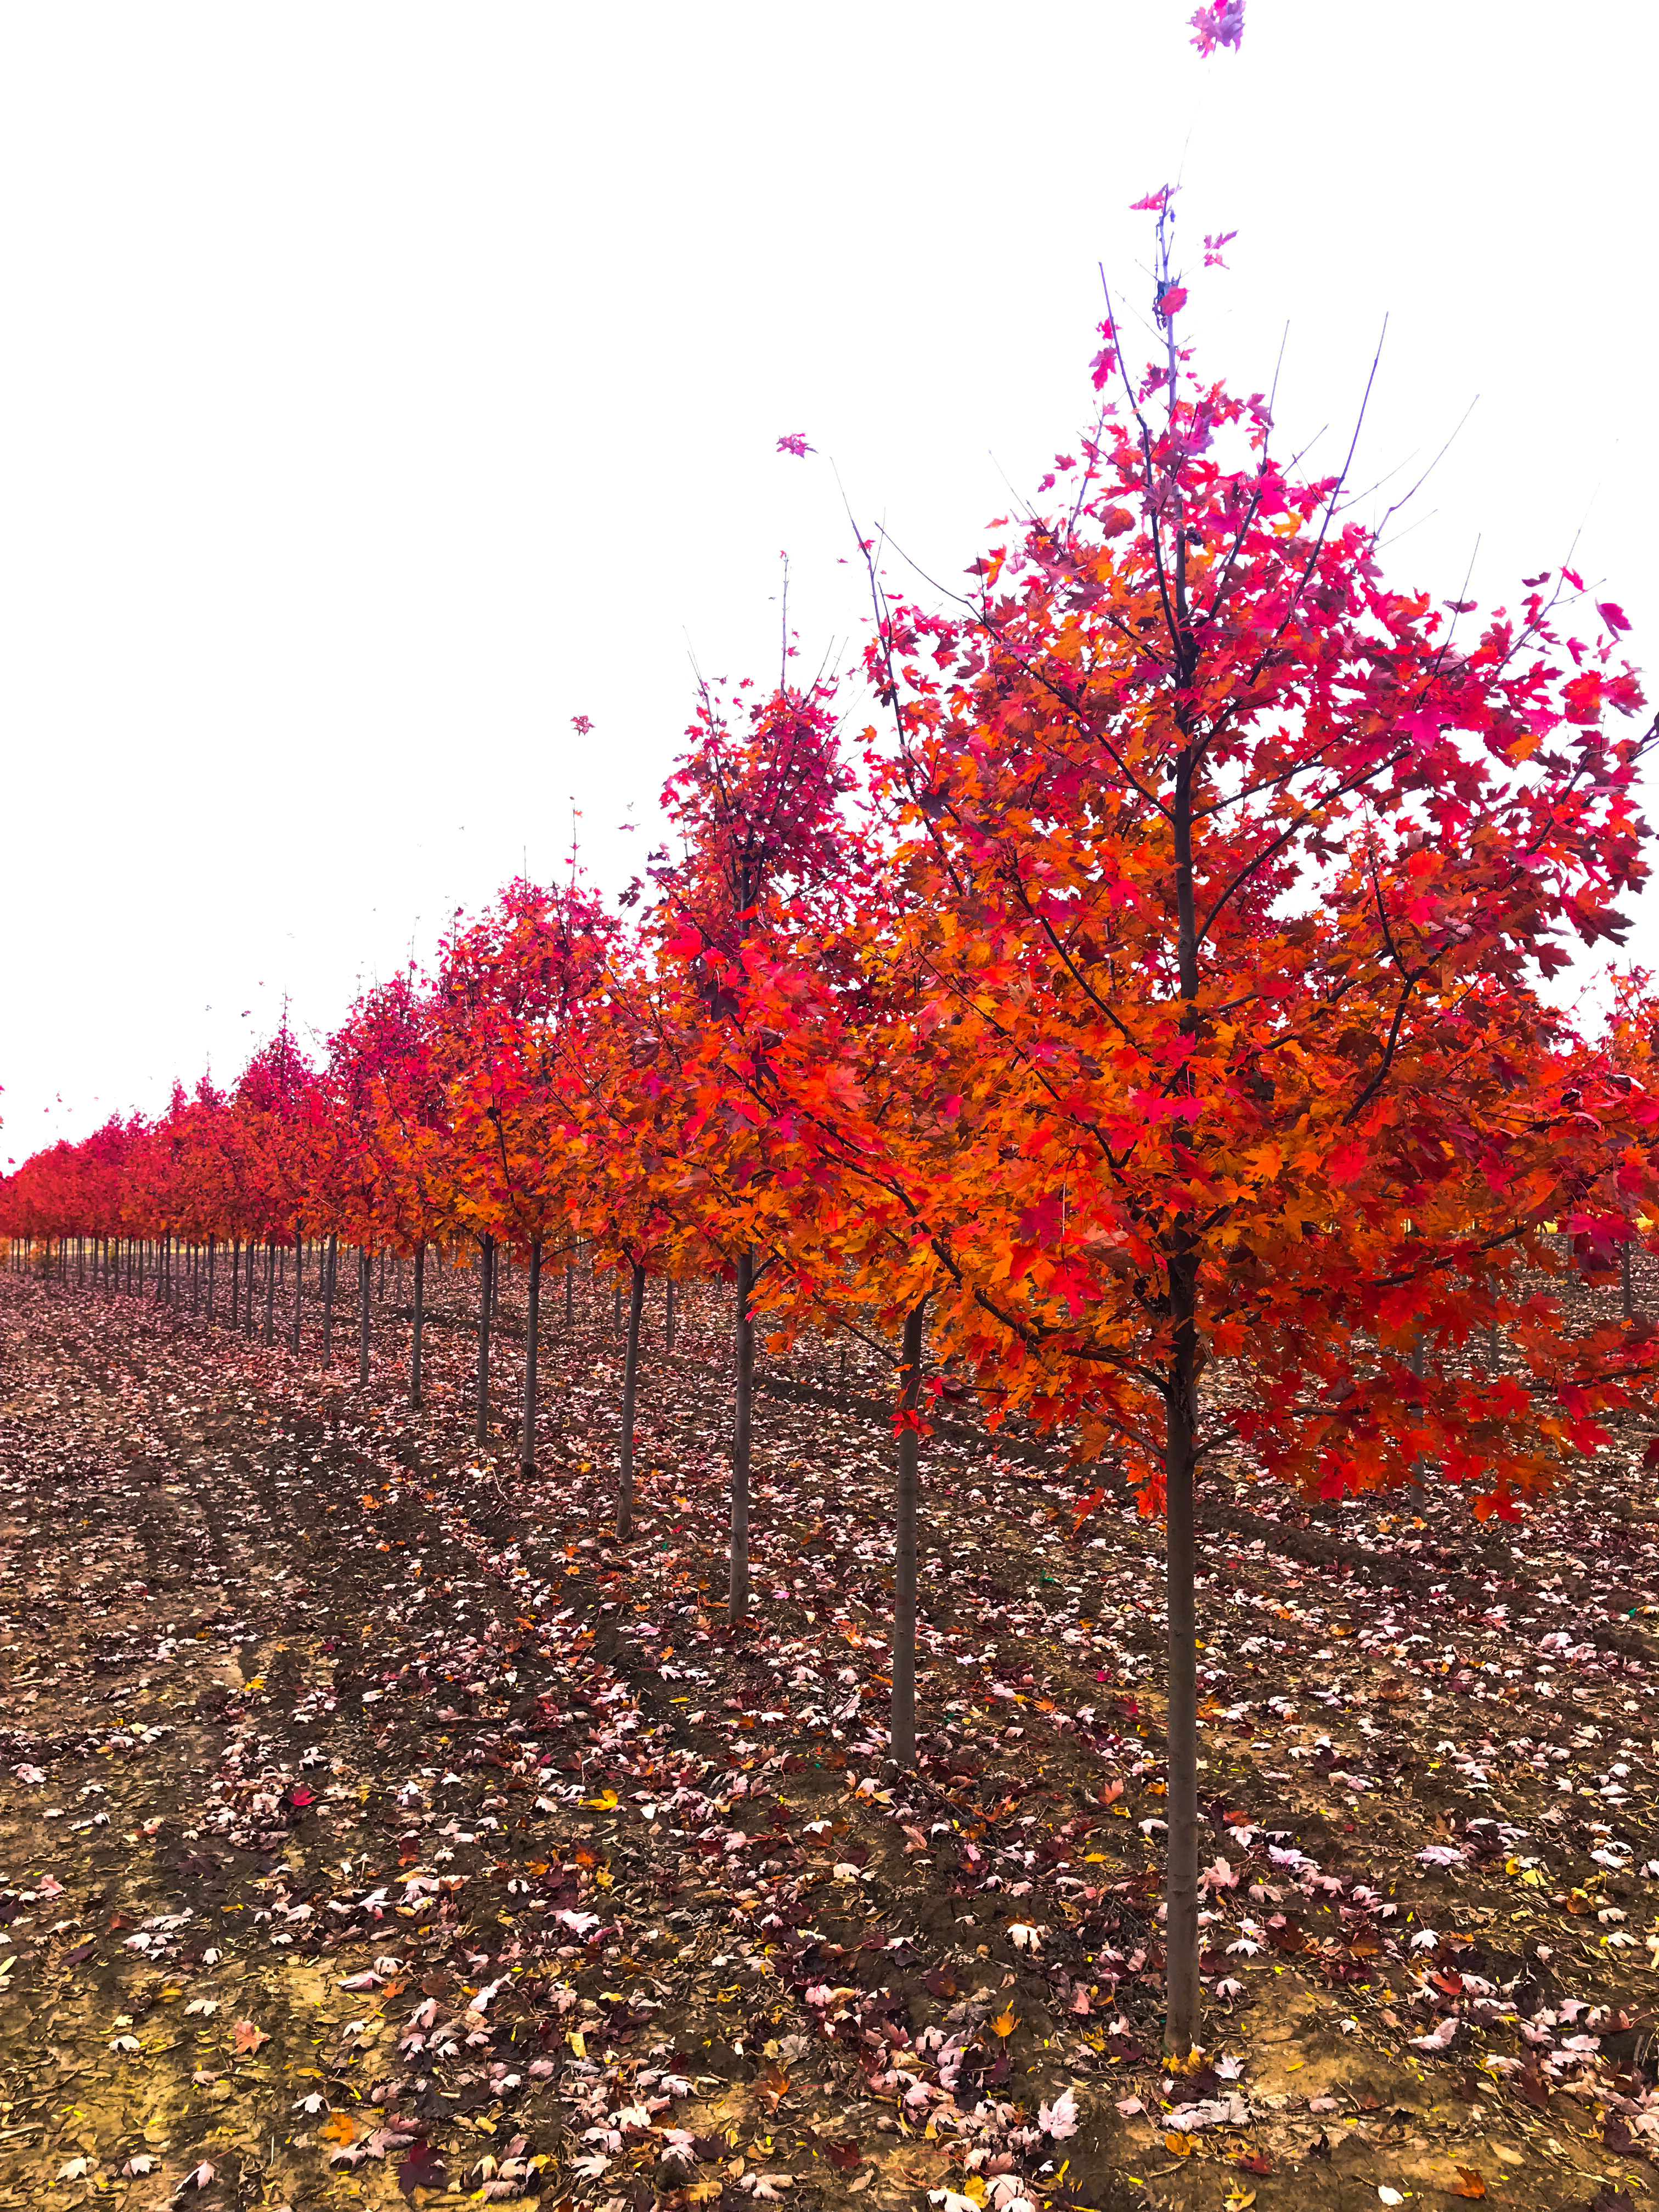
Fall is finally upon us. Autumn has a lot of great activities to offer such as apple cider, corn mazes, pumpkin carving, and flannel shirts, but what you may not know is that fall is the one of the best times to plant trees. The weather is cooled off enough to force trees to begin storing their energy and dropping their leaves while the ground is still warm enough to allow for root growth. The sweet spot of time is September or October because the tree needs to be allowed to get established into the ground before the first hard frost. This guide will walk you through all that you need to know from choosing a spot and equipping with the right tools to planting and caring for trees.
Choosing the Right Location
When picking a spot to plant a tree, you must consider a few different factors in order to assist the tree’s success.
1. Drainage: Drainage should be the one of the first things you consider when choosing a spot for a tree. Some trees like a well-drained area while others can tolerate a bit of water. If you put a tree in a water situation that it is not compatible with, the tree will have a slim chance for survival.
2. Shade: Not all trees like full sun, and not all trees will do well in the shade. You need to research what amount of sun a tree wants and then analyze the areas of sun and shade in your landscape before planting a tree.
3. Growth pattern: Picking a spot to plant a tree is not necessarily all about the tree’s survival. The tree also needs to function the way you want it to, not damage any foundations or objects, and adhere to any regulations for the area. If the tree is going in next to a house, sidewalk, or other structure, make sure its roots are not going to uproot a floor or walkway, and make sure the roots are not going to damage any pipes. Some trees have more invasive roots than others. You also need to think about how tall the tree is going to be. Be certain that the tree will not grow past what is acceptable for your HOA, grow into a power line, or even block a view.
Tools
Unless you are a professional landscaper, the odds are you probably will buy an adolescent tree that will not be too difficult to plant with the help of a friend or two, so you will only need a few essential items.
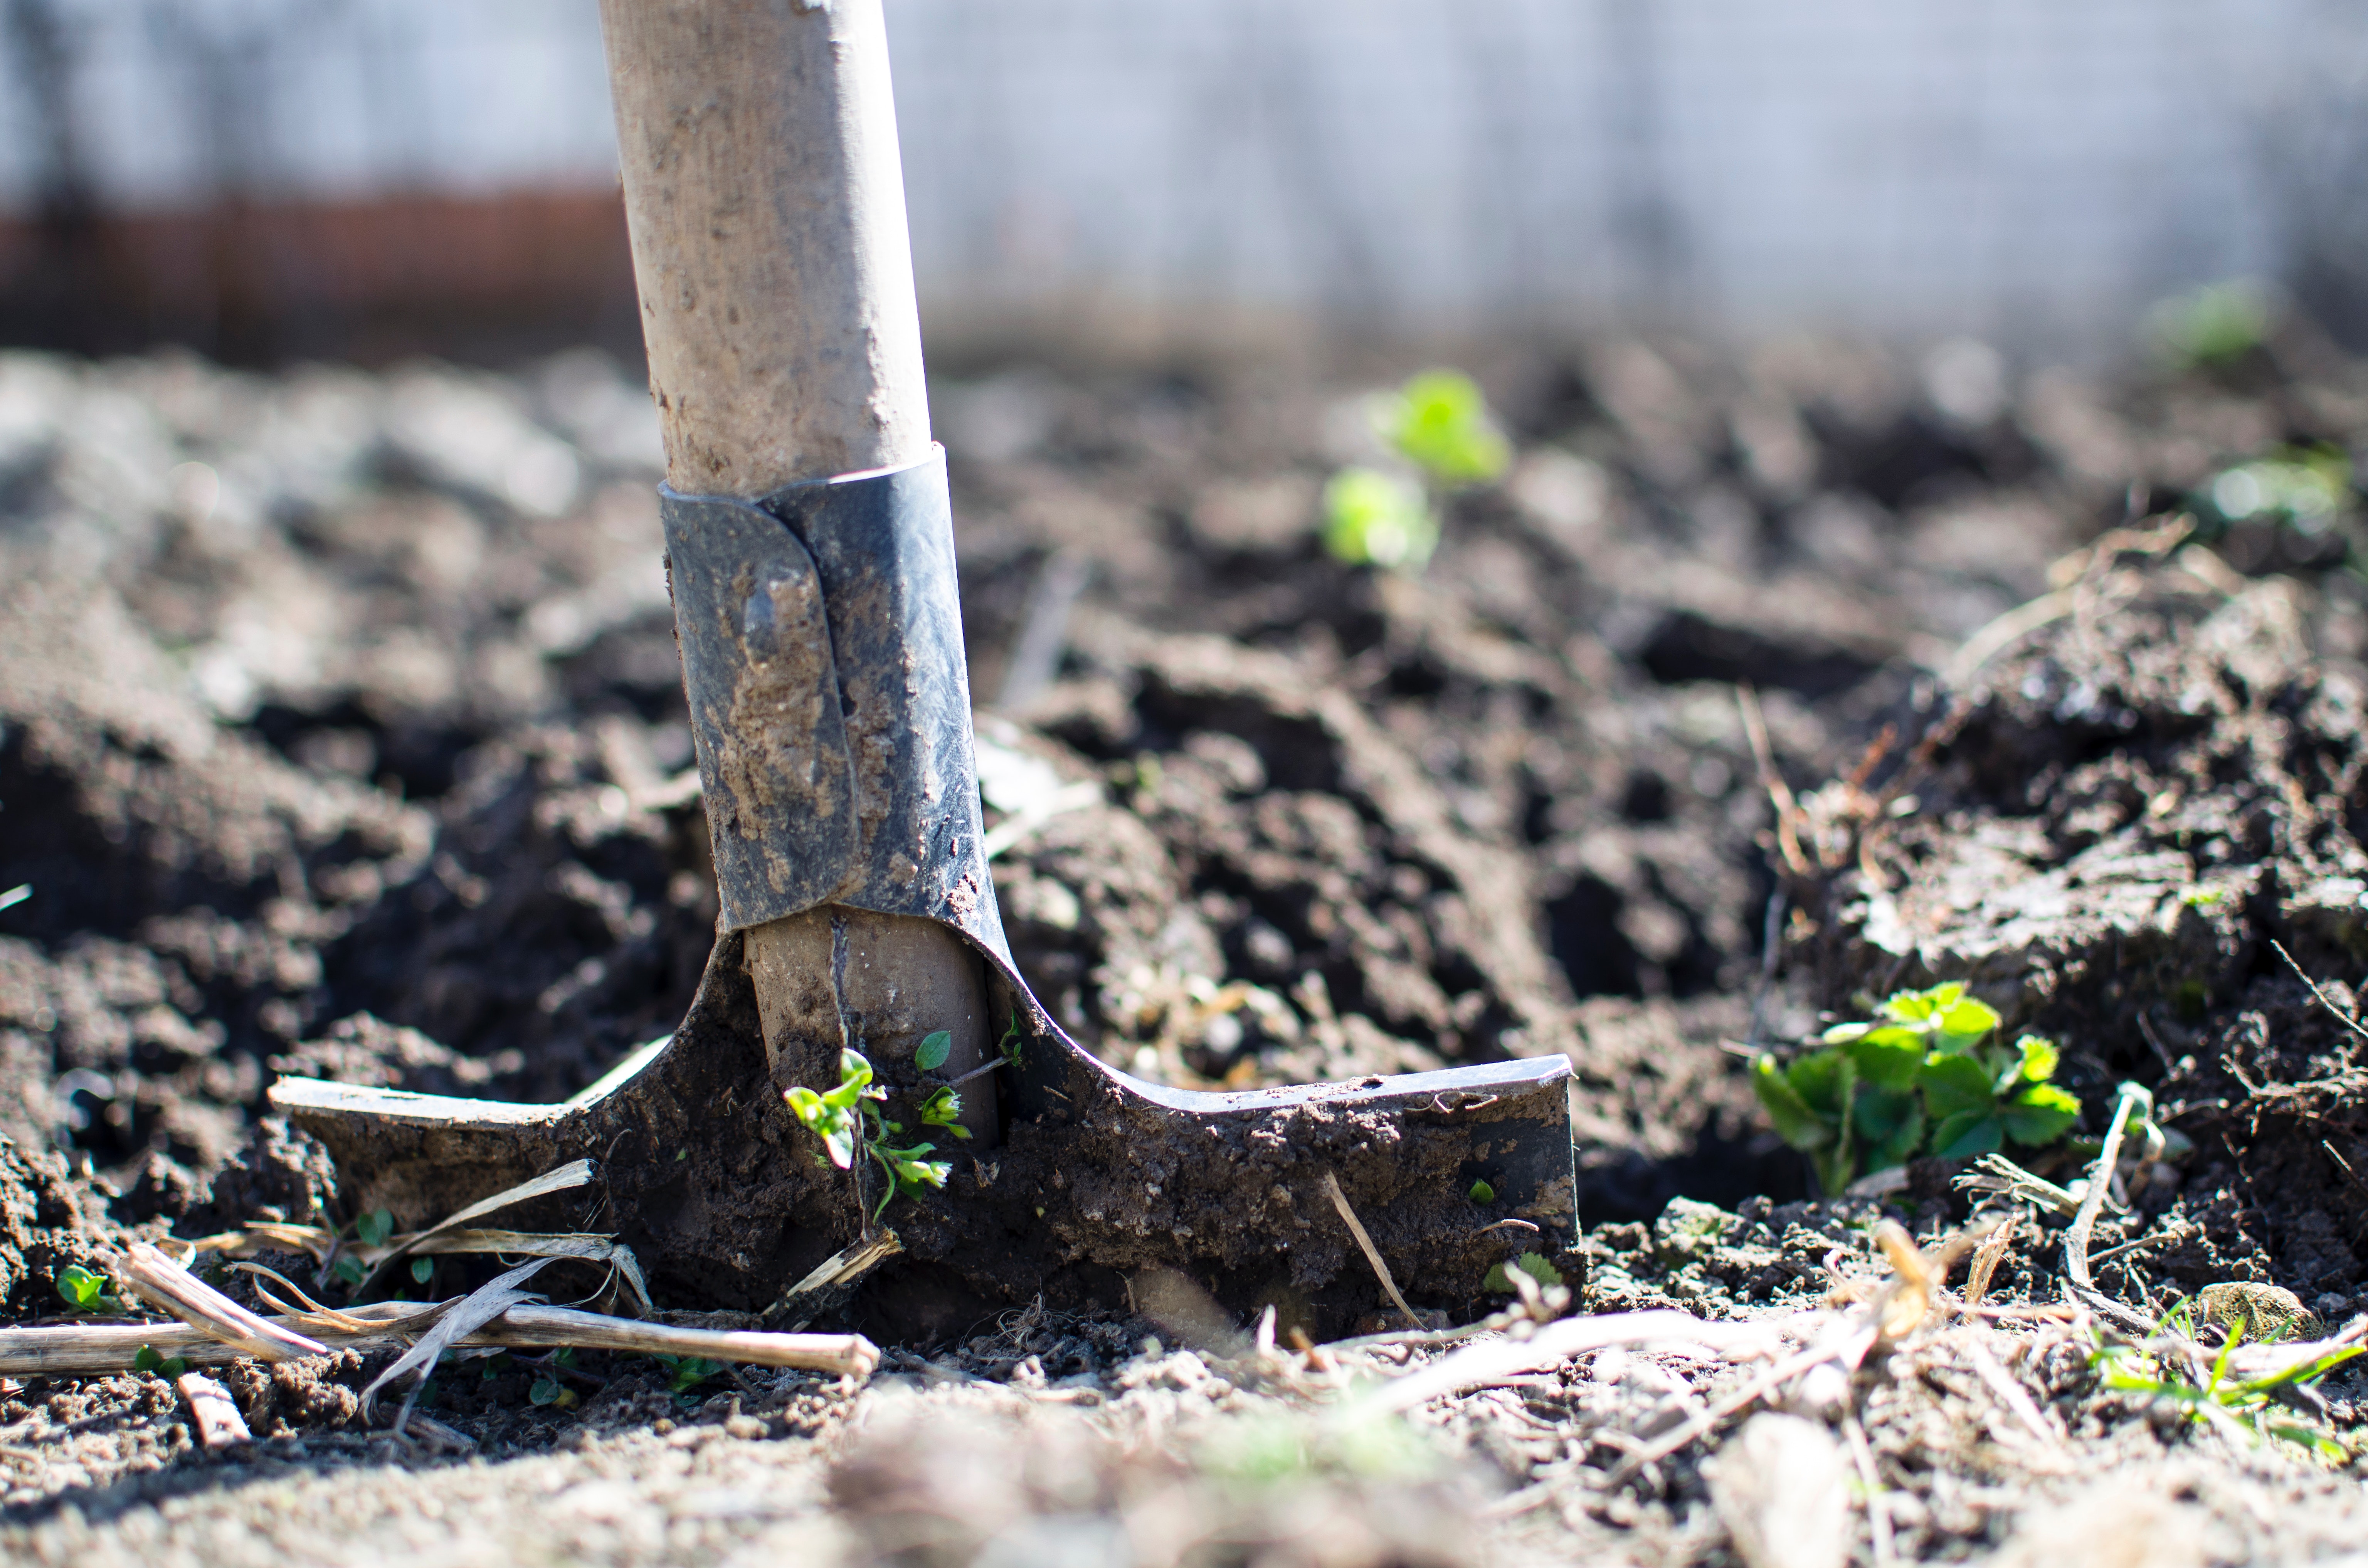
Shovel: This may be the most obvious of the tools to have to dig a hole, but we wanted to make sure to include it. You’ll need a sturdy shovel to dig a hole big enough to plant the tree. The shovel can also help scar the root ball (more on this later).
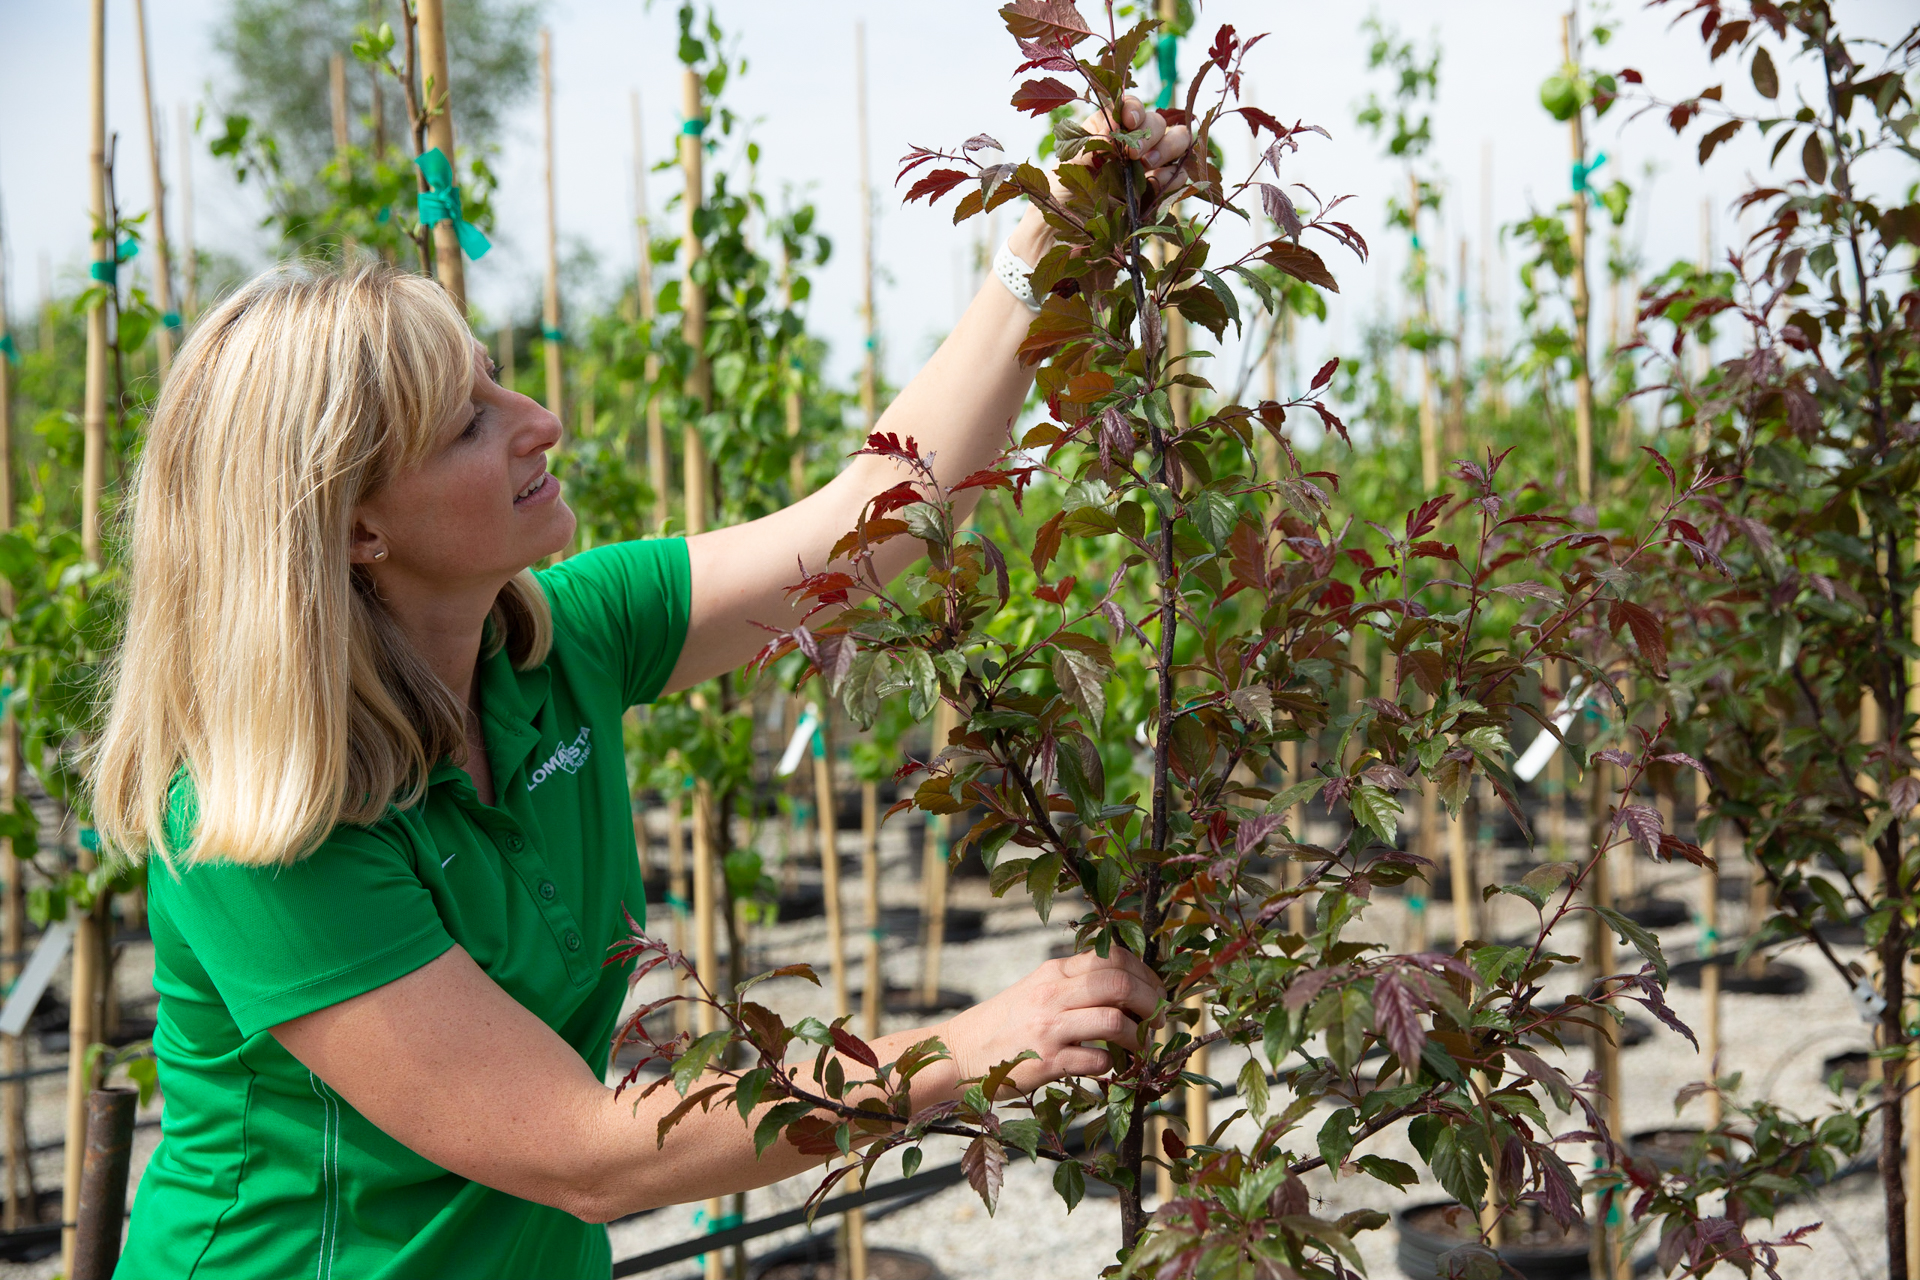
Pruners: You may have to do some clipping and tidying up of the branches. Pruners come in handy for that. If you are not familiar with how to trim trees, check out our Tree Trimming Guide here.
Stakes: Stakes are only needed on certain trees that do not have a strong enough caliper to withstand wind. They help keep the tree growing upright and prevent permanent damage to the trunk.
Steps to Planting a Tree
Now that you have picked the perfect spot for your tree and have the materials you need, you can start digging!
1. Dig a hole: The hole to be at least twice the size as the root ball. This will not only help the tree adapt to its new environment, but it will also allow space to put in other materials and soil to help the tree grow and the roots get established.
2. Scarify the roots: Trees that have been grown in containers will likely have some root circling. If a tree is planted with their roots still stuck in the shape of its pot, the roots will not grow out and away from the tree like they are supposed to grow and extend. Instead, they will continue circling which will make for an unstable tree base, will cause it to retrieve less nutrients, and will suffocate the tree. To free the roots, either cut an inch or two off each sides or make long gashes along the sides and bottom of the root ball. After cutting through the roots, free the roots out of the ball format a little before putting the tree into the ground.
3. Place tree in hole: The tree needs to be placed in the center of the hole. The soil line on the ball should be at the same level as the area you are planting in. If the soil line is below the level of the ground, it will encourage water to drain towards the tree rather than away.
4. Refill hole: Before filling in the hole, add compost or other organic matter into the hole to give the tree a transition zone to the normal soil. This is the time for you to also add fertilizer. You can either put the fertilizer in with the compost, or you can top tress the tree after you fill in the hole.
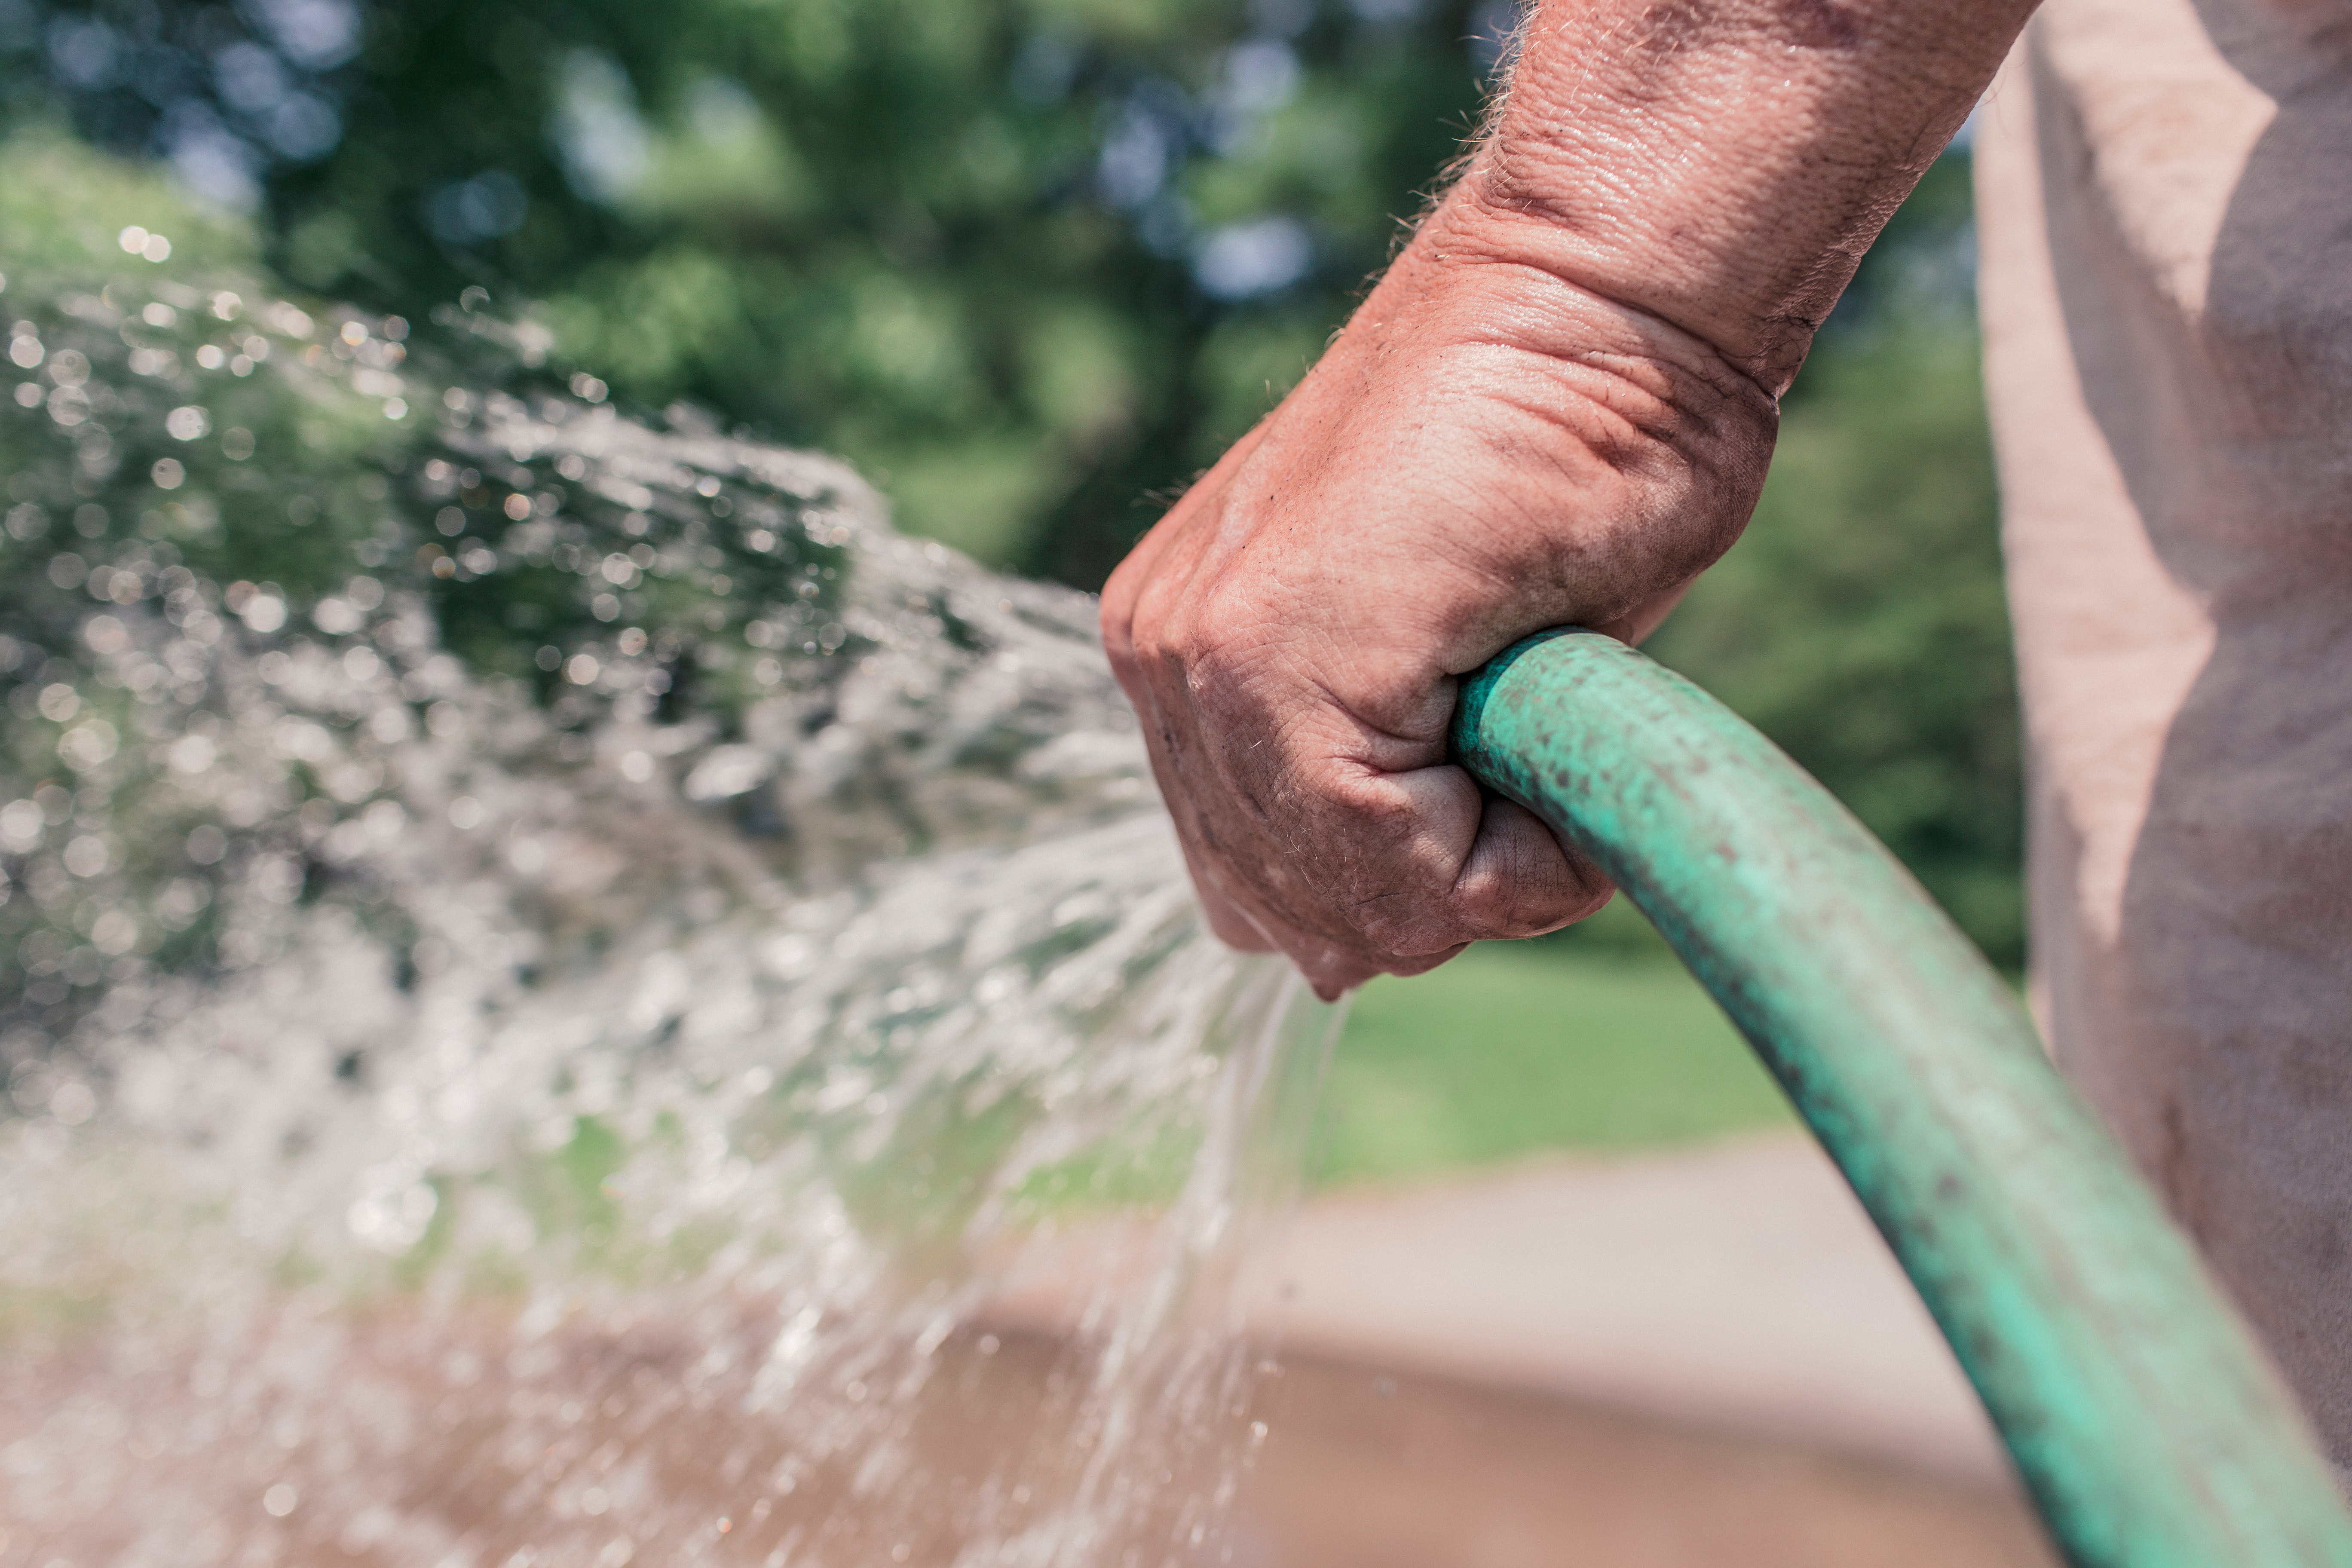
5. Water: The last step is to water the tree well in order to make sure the root ball has good soil contact and to welcome the tree to its new home. When planting a tree in the fall, the biggest concern is watering the tree. Water it fairly regularly from the time of planting until frost. If you are planting in the spring, just water as needed.
Learn More About Plants From Us!
We may be a wholesale grower, but our staff are experts in the field. What’s more, is we love helping people learn more and understand more about plants. We grow healthy plants, and we want our plants (and any plants really) to be successful in the landscapes they are planted in. Feel free to email us at sales@lomavistanursery.com or call us at (785) 229-7200 if you ever have plant-related questions.
Connect with us!
Stay up-to-date on our plant recommendations, growing tips, and more by following us on social media.
![]()
![]()
![]()